
A Tutorial/Tip: Layout Coloring
Level: Beginner-Medium
By: Laura Betz
One of the first things developers start working with in FileMaker is designing a layout. Being able to choose the right size, shape and color of objects allows a lot of opportunities for development. This post will focus on the use of color being one of the main characteristics that stands out to developers within the design process, and ultimately the end user. Depending on whether FileMaker is running on a Windows or Mac computer this affects development and how ones uses / applies color to their solution. A Mac has a different color picker in comparison to Window’s color picker. Both Windows and Mac computers have access to FileMaker’s background fill capabilities on objects.
Here are some quick tips when applying color to your solution:
- Adding an image or selecting a color(s) to a background of objects are options, as well as not setting a fill background
- Within an image FileMaker will ask how it should be shown
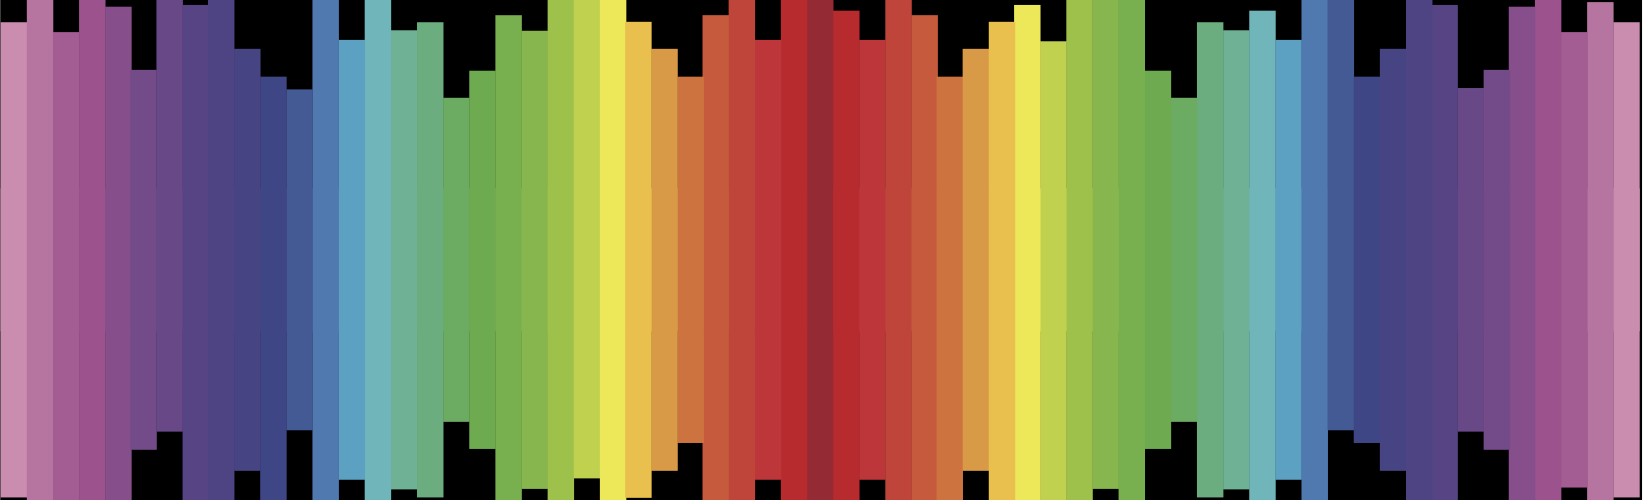
- Colors can be a singular or a range to form a gradient
- The amount of colors in a gradient is limited to five. I have seen this used effectively for button designs
- Images can stay the same size, stretch to fill all or part of the object, tile, or slice (a portion of the image, which some themes use already)
- The angles of the gradient can be changed in most areas exception for layout parts. Moving the gradient from top to bottom, left to right can help highlight a section of the layout.
Here is how you change the angle of a gradient on a layout:
- make a new object the same size of the layout part
- copy the color scheme from the layout to the new object
- change the angle of the gradient (using the radial)
- copy the result back to the layout part
https://www.filemaker.com/help/
http://help.filemaker.com/app/
Tags: FileMaker, layout, color, gradient


